The Secure Container Mechanics in Tarkov
When you dive into Escape From Tarkov, understanding the secure container mechanics is crucial, as it can significantly impact your survival and loot management.
 Secure containers come in various types, each with unique features that can influence your loot strategy. The basic containers, like the Alpha, Beta, and Gamma, allow you to store items that you want to keep after a raid, even if you die. This means effective item recovery is essential; prioritizing what goes into your container can make all the difference.
For instance, the Gamma container offers more slots than the Alpha, making it ideal for holding multiple valuable items. Knowing which secure container type suits your playstyle can enhance your chances of walking away with significant loot. Always remember, managing your secure container effectively means thinking ahead and making smart decisions about what to stash for future raids.
Prioritizing High-Value Items
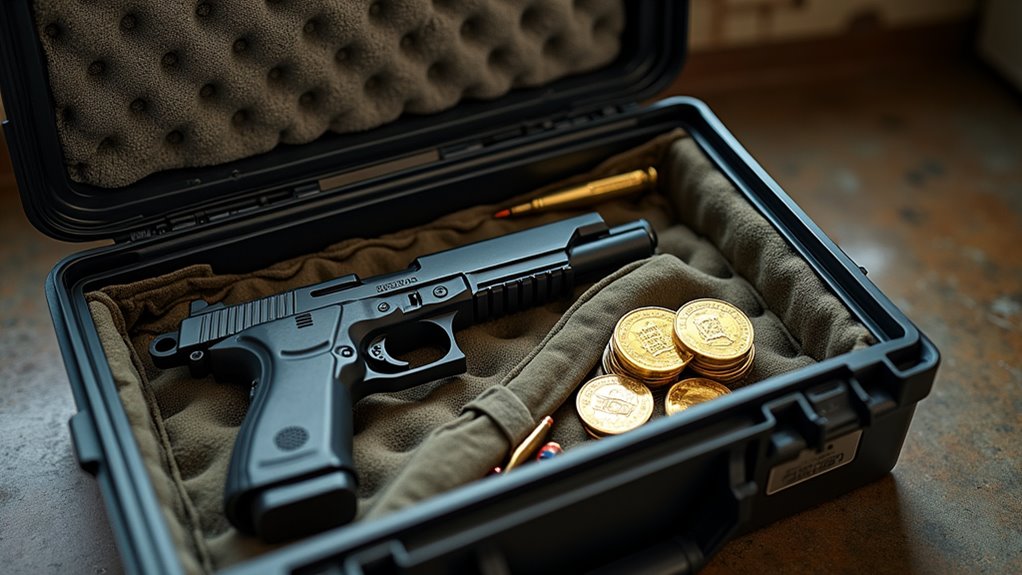
To maximize your success in Escape From Tarkov, it’s essential to prioritize high-value items for your secure container. Focusing on item rarity can significantly boost your in-game wealth and survivability. Here’s a handy table to help you identify what to stash away:
Item TypeHigh Value Loot Examples
| Weapons | M4A1, AK-74N |
| Attachments | Thermal scopes, suppressors |
| Valuable Items | Bitcoin, gold chains |
When you raid, always keep an eye out for these high-value loot items. The rarity of these items often dictates their market value, making them crucial for your secure container. By efficiently filling your secure container with these prized possessions, you’ll not only enhance your gameplay experience but also increase your chances of leaving a raid with substantial rewards. Prioritize wisely, and you’ll thrive in Tarkov.
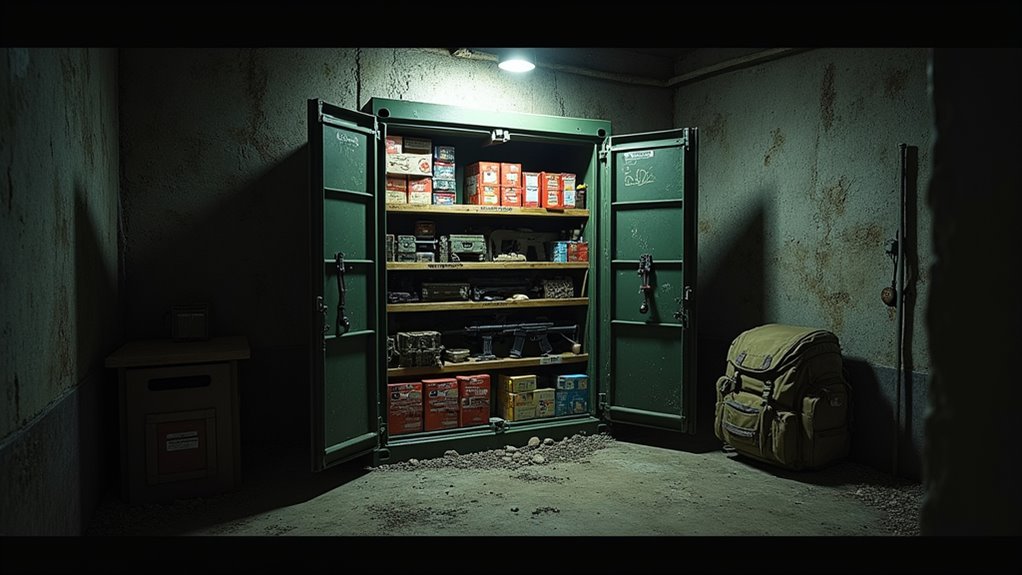
Efficient Inventory Management Strategies
Maximizing the value of your secure container is only part of the equation; managing your overall inventory effectively can make a huge difference in your success in Escape From Tarkov. Start with inventory organization—arranging your items in a way that allows for quick access can save you precious time during raids. Use a systematic approach, placing similar items together, like weapons, ammunition, and medical supplies.
Item categorization is key. By clearly defining categories, you can reduce clutter and make it easier to spot what you need in high-pressure situations. Consider using color codes or labels for quick identification.
Regularly review your inventory to remove unnecessary items and prioritize essential gear. This not only streamlines your load but also maximizes your secure container's efficiency. With these strategies in place, you’ll be better equipped to navigate Tarkov’s challenges and elevate your gameplay.
The Importance of Insurance
While many players focus on loot and gear management, understanding the importance of insurance in Escape From Tarkov can significantly enhance your survival strategy. Insurance benefits go beyond mere safety; they provide you with a safety net for your valuable items. When you insure your gear, you’re essentially safeguarding your investments against the risks of losing them in raids.
If you die during a raid, your insured items can be reclaimed if they're not looted by other players. This means that even if you face a devastating loss, you won’t have to worry too much about the financial impact. You can bounce back more quickly, keeping your gameplay fluid and less stressful.
Adapt Your Loadout for Each Raid
Players often underestimate the significance of adapting your loadout for each raid in Escape From Tarkov. Effective loadout customization is crucial, as different maps and objectives require different gear. Before heading out, consider the specifics of your raid preparation: Are you aiming for PvP engagements or scav runs?
For high-risk areas like Interchange or Customs, prioritize armor and firepower, while in less populated zones, lightweight gear might suffice for quicker movement. Additionally, factor in the time of day—night raids call for night vision, whereas daylight favors more traditional optics.
Don’t forget about your objectives; if you’re scavenging for loot, include extra space in your loadout. Ultimately, tailoring your gear to the environment and your goals can mean the difference between a successful extraction and a frustrating loss. Remember, the right loadout can turn the tide in your favor.
Frequently Asked Questions
Can I Use My Secure Container in Every Raid?
You can use your secure container in every raid, maximizing its benefits. It’s crucial for securing valuable loot and enhancing your raid strategies, allowing you to take risks while ensuring you leave with essential items intact.
What Happens if I Die With Items in My Secure Container?
If you die with items in your secure container, they'll remain safe. This secure container mechanics prevents item loss consequences, allowing you to keep valuable gear for future raids, enhancing your overall survival strategy.
Are There Different Types of Secure Containers?
Yes, there are different secure container types, each offering unique benefits. Some provide more storage, while others enhance item security. Knowing their differences can help you optimize your inventory strategy and improve your gameplay.
Can I Upgrade My Secure Container Size?
You can’t upgrade your secure container size directly, but you can benefit from different container types. Secure container upgrades enhance your inventory management, allowing you to carry more valuable items during raids, improving your overall gameplay experience.
How Do I Obtain a Secure Container?
You can obtain a secure container by exploring specific locations in the game or purchasing one from traders. For effective item storage, consider prioritizing high-value items and maximizing space efficiency within your container.